Showing posts with label pasta. Show all posts

Saturday, January 16, 2010

Butternut Squash & Swiss Chard Lasagna

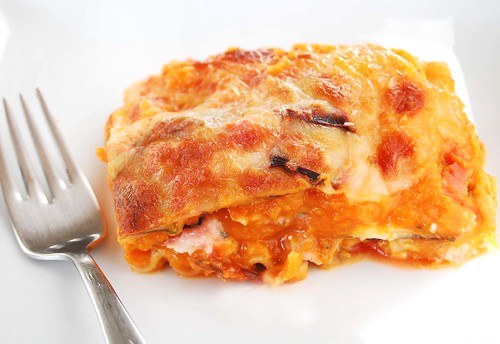
Oh my. Butternut Squash Lasagna. Where have you been my whole life?

Since I am a lover of all things tomato sauce, tomato-based lasagna is one of my favorite foods ever. So, when I heard about this butternut squash lasagna, I was skeptical. But I was wrong. This lasagna was fantastic. The butternut squash adds a sweetness much like tomato sauce does in traditional lasagna. The cheeses add a great savory contrast to the squash, and everything is enlivened with the addition of the herbs. I added some swiss chard to give it some more texture and increase the healthiness factor. I also used sage and a bit of rosemary instead of basil because I think they complement the squash better. I also roasted the squash instead of boiling it as I think that enhances the sweetness more. I added some tofu and cottage cheese to the cheese mixture to give it some extra protein.

This dish is so hearty and flavorful, and it is great with a side of toasted garlic bread which helps to sop up the yummy sauce. This will definitely be a staple winter-time meal at our place.
Butternut Squash & Swiss Chard Lasagna (adapted from Giada De Laurentiis)
  • 1 tablespoon olive oil
  • 1 (1 1/2 to 2-pound) butternut squash, peeled, seeded, and cut into 1-inch cubes
  • salt and freshly ground black pepper
  • 1/2 cup water
  • 2 Tb olive oil
  • 2 Tb butter
  • 1/4 cup all-purpose flour
  • 3 1/2 cups milk
  • Pinch nutmeg (freshly grated)
  • 3/4 cup (lightly packed) fresh sage leaves
  • 2 1/2 Tb fresh rosemary, chopped
  • 2 cups shredded mozzarella cheese
  • 1/3 cup grated Parmesan
  • 1/3 cup grated Pecorino
  • 1 cup cottage cheese
  • 1/2 cup firm tofu, chopped into small pieces
  • 2 cups (lightly packed) chopped swiss chard
  • 12 lasagna noodles, cooked to al dente
1. Lightly oil a baking pan. Add the squash and toss to coat. Roast the squash at 350 degrees for 35-40 min, or until softened. Cool slightly and then transfer the squash, along with 1/4 cup water to a food processor. Puree the squash, and season the puree, to taste, with salt and pepper.

2. Heat the 2 Tb of oil and melt the butter in a heavy medium-size saucepan over medium heat. Add the flour and whisk for 1 minute. Gradually whisk in the milk. Bring to a boil over medium-high heat. Reduce the heat to medium and simmer until the sauce thickens slightly, whisking often, about 5 minutes. Whisk in the nutmeg. Cool slightly. Transfer half of the sauce to a blender*. Add the sage and rosemary and blend until smooth. Return the sauce to the sauce in the pan and stir to blend. Season the sauce with salt and pepper, to taste.

3. Mix together 2 cups of mozzarella with the Parmesan, Pecorino, cottage cheese, and tofu. Season with salt and pepper, to taste.

3. Position the rack in the center of the oven and preheat to 375 degrees F. Lightly butter a 13 by 9 by 2-inch glass baking dish. Spread 3/4 cup of the sauce over the prepared baking dish. Arrange 3 lasagna noodles on the bottom of the pan. Spread 1/3 of the squash puree over the noodles. Spread a layer of the chard. Sprinkle with 1/2 cup of the cheese mixture. Repeat layering 3 more times.

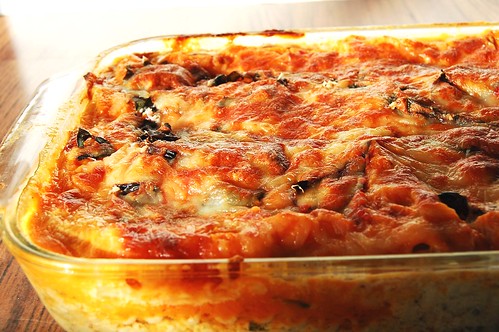
5. Bake the lasagna for 40 minutes. Continue baking uncovered until the sauce bubbles and the top is golden, 15 minutes longer. Let the lasagna stand for 15 minutes before serving.

*When blending hot liquids: Remove liquid from the heat and allow to cool for at least 5 minutes. Transfer liquid to a blender or food processor and fill it no more than halfway. If using a blender, release one corner of the lid. This prevents the vacuum effect that creates heat explosions. Place a towel over the top of the machine, pulse a few times then process on high speed until smooth.

Wednesday, April 29, 2009

Homemade Whole Wheat Pasta

A few weeks ago, I saw a Good Eats episode on homemade pasta, and I was inspired. Alton Brown made ravioli, but since this was my first attempt at pasta from scratch and I don't own a pasta maker, I decided to keep it simple and go with a pasta noodle. I wanted to up the nutritional content, so I chose a whole wheat pasta recipe from my lovely Joy of Cooking. For this recipe, I followed both Alton's tips and the tips from Joy of Cooking. Here's how it went down.

AB and JoC both suggested mounding the flour and creating a well in the center for the wet ingredients to be poured into. The benefit of doing it this way is you never use more flour than you need -- you just use as much flour as necessary to soak up the wet ingredients and form the dough. That's brilliant! And so simple! So I tried it.
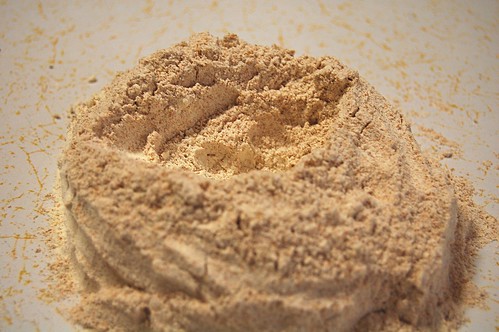
First I mounded my dough. Then I made a well...

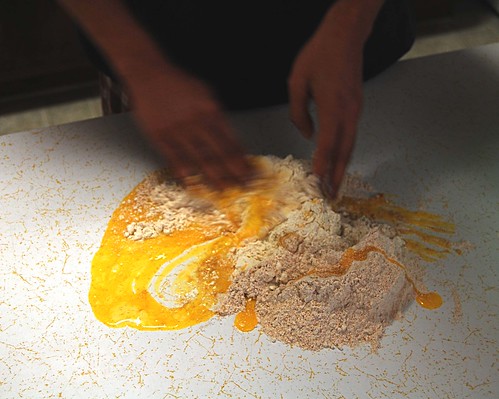
Then I added the wet ingredients...
Waahh!! My well! My beautiful well. Actually it was a stupid sissy well that couldn't even hold some eggs and water in place...arrghh. At this point I almost gave up, but the bf offered some moral support, so I continued...
Ahh..eventually, I got a dough! And it didn't suck. Yay! I actually didn't use up all the flour that the recipe called for, so I think it is a good idea to incorporate the dough and the wet ingredients slowly instead of all at once.

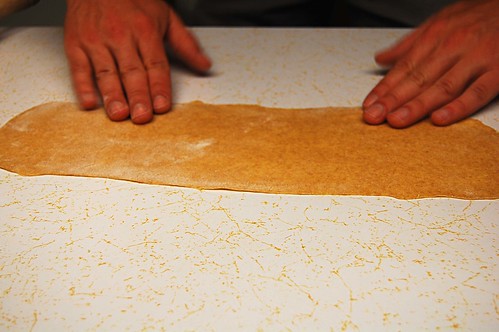
After the dough rested in the fridge for about an hour, we rolled it out into thin sheets...
And if you're wondering, no those are not my hands -- I put the bf to work for this recipe. Sometimes moral support just isn't enough.

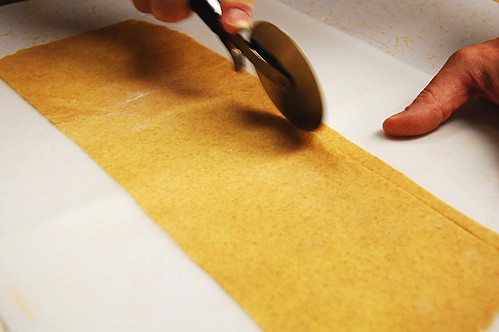
The next step was to cut the sheets into strips. Using a pizza cutter made it really easy.
The final step was to use a handy dandy pasta dryer and allow the pasta to dry for at least 2 hours...
This is what happens when you're living on a grad student stipend and therefore don't have a handy dandy pasta dryer. You make one! We scrubbed down a yard stick until it was nice and clean, propped it up with two chairs, and hung the pasta strips off of it. Drying the pasta this way was so simple, I don't think I even need a pasta dryer.

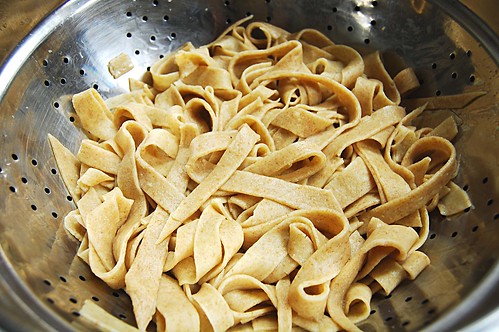
Once the pasta dries, it is ready to be boiled. The boiling time is much less than for store bought pasta. We boiled ours for about 6 minutes.

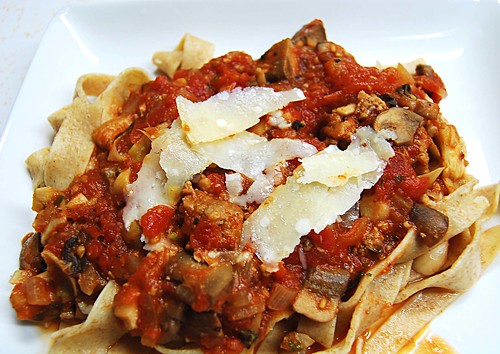
I made a simple tomato sauce with fresh mushrooms and onions, topped it with some Parmigiano Reggiano (yes, I splurged and bought the real stuff) and...Tah Dah!
This pasta was SOOO good and the taste/texture was just so much better than the store bought stuff. Now I'm not saying that I'll never use store-bought pasta, because, well, it's still really good and so quick to prepare, but whenever I have the time, I will definitely be making this again. It does take some effort and patience, but the end result is sooo worth it.

Whole Wheat Pasta (adapted from Joy of Cooking and Alton Brown)
  • 1 cup unbleached all-purpose flour
  • 1 cup whole wheat flour
  • 3 large eggs, beaten
  • 1 Tb water
  • 1/2 tsp salt
  • 1 tsp extra-virgin olive oil
1. Combine the flours and mound the mixture on a clean counter.
2. Combine the eggs, water, salt, and oil.
3. Make a large well* (see note below) in the center of the mound and slowly pour in the egg mixture a little bit at a time. Mix the flour with the wet ingredients until all of the wet ingredients are absorbed. Do not force the dough to use all the flour, just take as much as needed to incorporate all the wet ingredients.
4. Knead the dough for at least 10 minutes.
5. Cover the dough in plastic wrap and place in the refrigerator for 1 hour.
6. Divide the dough into four equal pieces. On a well-floured surface, roll out each piece into a thin sheet, one at a time. The dough should be about 1/8 inch thick, thin enough to detect the outline of your hand.
7. Cut the dough into strips of desired thickness.
8. Let the strips dry on a pasta dryer (or a homemade pasta dryer!) for at least 2 hours.
9. Note: Fresh pasta takes much less time to cook. Check the pasta as soon as 4 minutes of boiling.

*I think the reason my well didn't work out so well (hah!) is that I poured too much of the the wet ingredients in too quickly. The wet ingredients should be poured into the well in small batches, one at a time. Also, the well should be deep enough to hold a good amount of liquid (mine was not).

After making this, I decided to submit it to Presto Pasta Nights, a great group of food bloggers who challenge themselves by making interesting pasta dishes. This week's host is Ruth from Once Upon a Feast -- her blog has some great recipe ideas!